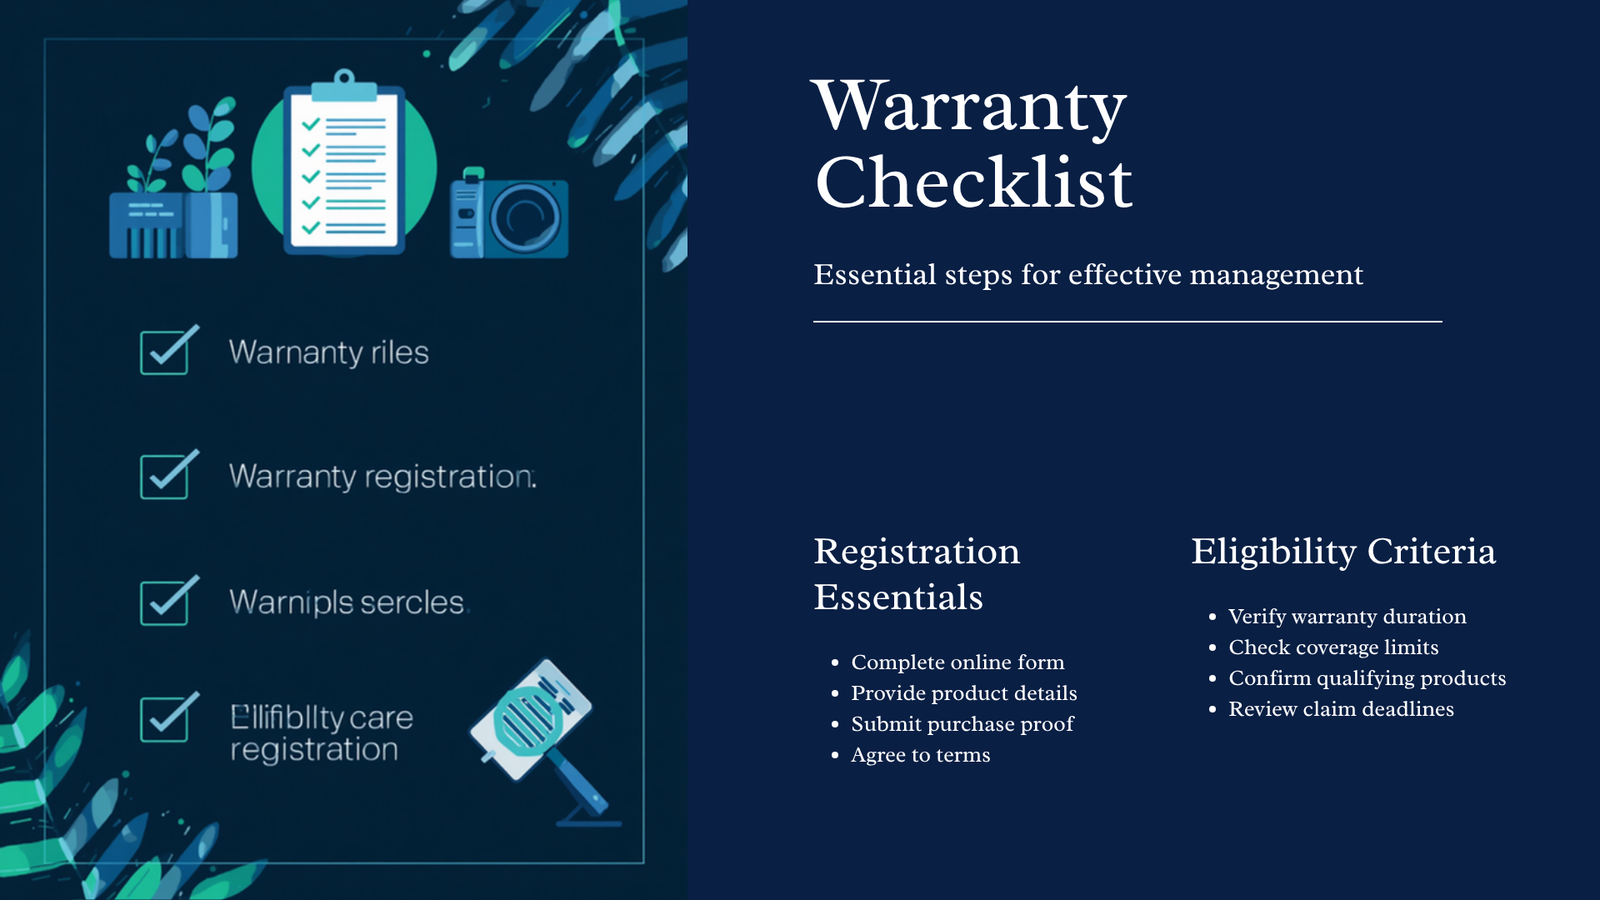
If you are searching for the best warranty plugin for WooCommerce, start by looking beyond a simple warranty badge. A good WooCommerce warranty plugin can make the claims process much easier to manage for electronics, appliances, furniture, tools, accessories, and other products that may require support after purchase. Instead of relying on scattered emails and manual spreadsheets, you can create product-level policies, accept warranty requests, collect relevant information, and give your team a central place to review claims.
ClaimPress – Warranty, Return, Refund & Exchange for WooCommerce is our top recommendation for stores that want warranty claims, returns, refunds, and exchanges in one WooCommerce-oriented workflow. Its strongest advantage is breadth: the official plugin listing describes separate warranty, exchange, and return/refund features, along with logged-in and guest claim paths, claim statuses, admin notifications, and customer communication 1.
That does not mean ClaimPress is automatically the right choice for every store. Businesses with complex repair logistics, serial-number registration, field-service operations, or large help-desk teams may need a dedicated warranty or service platform. However, for many WooCommerce merchants, ClaimPress is a practical starting point that brings the essential post-purchase workflow closer to the store’s product and order data.
Quick Verdict: Is Claimpress the Best Warranty Plugin for WooCommerce?
Yes—ClaimPress is our top pick for WooCommerce stores that need warranty management alongside returns, refunds, exchanges, and customer claims. It is particularly relevant when a merchant wants to configure these options at the product level instead of managing every request manually.
| Store requirement | Our recommendation |
|---|---|
| Included product warranties | Evaluate ClaimPress first because its listing describes included warranty options. |
| Paid extended warranty plans | ClaimPress is worth testing because paid warranty tiers are listed as a supported capability. |
| Returns, refunds, and exchanges | ClaimPress is a strong fit when these workflows should be managed alongside warranties. |
| Guest warranty claims | Evaluate the guest form flow and verification process before launch. |
| High-volume repair operations | Compare ClaimPress with a dedicated RMA, help-desk, or field-service platform. |
| Simple policy display only | A full claims plugin may be more functionality than your store needs. |
The right way to choose a warranty plugin is to compare the complete customer and admin journey—not just the number of features listed on a product page.
What Should a WooCommerce Warranty Plugin Do?
A warranty plugin should do more than display a “12-month warranty” label on a product page. It should connect the product policy with the customer’s order, claim eligibility, support request, evidence, admin review, and final resolution.
A complete warranty workflow usually includes these stages:
- Define coverage. Set the warranty period, eligible products, exclusions, and available resolutions.
- Explain the policy. Show customers what is covered and how they can request support.
- Verify eligibility. Connect the request to an order, product, customer account, or valid guest purchase.
- Collect the claim. Give the customer a clear form for describing the problem and submitting supporting information.
- Review the request. Allow administrators to filter, update, communicate, approve, or reject claims.
- Complete the resolution. Record whether the result is a repair, replacement, exchange, refund, store credit, or rejection.
Official documentation for WooCommerce warranty claims describes a similar operational model: customers submit warranty claims, administrators review them from the dashboard, claims can be linked to orders, and teams can communicate with customers during the process 2. These are useful benchmarks when evaluating any WooCommerce warranty extension.
Essential Features to Compare
When comparing ClaimPress with another solution, consider product-level controls, claim intake, order verification, admin status management, customer communication, email notifications, evidence uploads, fees, reporting, compatibility, and support.
A plugin can have an impressive feature list but still create friction if the claim form is confusing, the admin queue is difficult to filter, or the customer cannot understand what happens after submission.
Why Claimpress Stands Out for WooCommerce Stores
ClaimPress is positioned as an all-in-one system for warranty, return, refund, and exchange management. The official WordPress.org listing describes three independent features that can be enabled separately or together on a product: warranty, exchange, and return/refund 1.
This structure is useful because not every product follows the same policy. A clothing store may offer exchanges for size changes, a technology store may offer warranty coverage for defects, and a general merchandise store may offer a time-limited return period. Product-level controls allow the merchant to match the workflow to the catalog.
1. Included and Paid Warranty Options
A store can offer an included warranty as part of the product promise or present an optional paid protection plan. For example, a merchant might display the following options:
| Warranty option | Example |
|---|---|
| Included coverage | 12-month product warranty included with the purchase |
| Paid extension | Add two additional years of protection for a clearly stated price |
| Premium plan | Offer a higher-priced protection tier with separately stated benefits and exclusions |
The ClaimPress listing describes both included warranties and paid warranty tiers 1. Before publishing a paid protection offer, verify the current plan limits, checkout behavior, tax handling, refund process, and policy wording on your own staging site.
For a deeper guide to paid protection plans, see DigitalWebTutor’s tutorial: How to Offer Unlimited Paid Warranty Tiers and Upsell Them at Checkout in WooCommerce.
A paid warranty should always be presented as an optional purchase. Customers should be able to see the duration, price, coverage, exclusions, and cancellation or refund conditions before completing payment.
2. Warranty, Return, Refund, and Exchange Workflows in One Plugin
Warranty requests, returns, refunds, and exchanges often reach the same support team. Managing them through completely separate forms can make it harder to determine which order is affected, what the customer is requesting, and what action should happen next.
ClaimPress brings these workflows into one product-related claims system. That can make the process easier to explain internally, especially for stores that do not yet need a separate help-desk or repair platform.
The operational benefit is not simply having more features. The real benefit is being able to create a consistent path from the customer’s order to the support decision. Store owners should still test how each outcome interacts with their payment gateway, inventory, tax settings, emails, and refund policies.
3. Logged-In and Guest Claim Paths
The official ClaimPress listing describes two customer entry points. Logged-in customers can access eligible products through My Account → Claimable Products. Guest customers can submit a request through a guest claim form added with the [claimpress_guest_form] shortcode 1.
Supporting both types of customers is important because not every buyer creates an account during checkout. The guest experience should explain which order details are required, why those details are needed, what evidence may be requested, and when the customer should expect a response.
The guest claim page should also include:
- A short explanation of the warranty and return process.
- A link to the complete policy and exclusions.
- Clear instructions for finding the order ID and billing email.
- A confirmation message after submission.
- Privacy information for order data and uploaded files.
- A support route for customers who cannot locate their order.
4. Centralized Claim Administration
The official listing describes a centralized ClaimPress area where administrators can view claims, filter by status and type, update statuses such as Pending, Approved, and Rejected, receive notifications, and reply to customers from the claim management screen 1.
A centralized queue helps staff answer basic operational questions quickly:
- Which claims are new?
- Which claims are waiting for evidence?
- Which claims have been approved?
- Which requests need a refund, exchange, or replacement?
- Which customer conversations still need a response?
For a growing store, these details are more useful than a collection of disconnected email threads. However, a small set of statuses may not replace a full ticketing system. Merchants should define internal rules for ownership, response time, escalation, and final resolution.
5. Advanced Controls for Growing Stores
ClaimPress’s official listing identifies several advanced or Pro-related capabilities, including unlimited paid warranty tiers, automated exchange fees, restocking fees, customer file attachments, mandatory proof settings, fee-waiver workflows, and custom marketing labels 1.
These features can be useful in specific situations. Photo attachments may help a team assess a defective item before approving a request. An exchange fee may be appropriate when a customer changes their mind, while a fee waiver may be appropriate when the store shipped the wrong item. Restocking fees and other charges should always be disclosed clearly and configured consistently with the store’s policies and applicable consumer requirements.
Because pricing, plan boundaries, and product features can change, confirm the current version and licensing requirements before publishing this section or making a purchase decision.
Claimpress Feature Comparison
The following table summarizes the capabilities described by the official plugin listing and the questions merchants should validate during testing.
| Capability | ClaimPress position | Why it matters | What to test |
|---|---|---|---|
| Included warranties | Listed as supported | Useful when coverage is part of the product offer | Confirm display, duration, eligibility, and policy copy. |
| Paid warranty tiers | Listed as supported | Allows optional extended protection | Test pricing, cart totals, checkout display, and refunds. |
| Returns and refunds | Listed as a separate feature | Keeps common post-purchase requests together | Test payment gateway and refund behavior. |
| Exchanges | Listed as a separate feature | Supports product, size, color, or variant changes | Test variable products, inventory, and shipping rules. |
| Guest claims | Guest shortcode is listed | Supports customers without an account | Test order validation, spam protection, and confirmation. |
| Claim statuses | Pending, Approved, and Rejected are listed | Gives staff a basic queue structure | Define additional internal steps if required. |
| Admin notifications | Listed as supported | Alerts the team to new requests | Test email delivery and inbox routing. |
| Customer replies | Listed as supported | Keeps communication closer to the claim | Test message history and customer notifications. |
| Proof attachments | Listed as a Pro feature | Helps document damage or defects | Test file types, limits, storage, and privacy. |
| Bulk setup | Listed by category | Reduces repetitive configuration | Test on staging before changing a large catalog. |
| Fees and fee waivers | Listed in the Pro feature set | Helps manage the cost of some outcomes | Test disclosure, tax, refund, and approval behavior. |
Treat this as a starting point for evaluation, not a substitute for a live test. The final decision should also consider your theme, WooCommerce version, checkout, payment gateway, email system, caching, security settings, and other plugins.
How the Claimpress Warranty Workflow Works
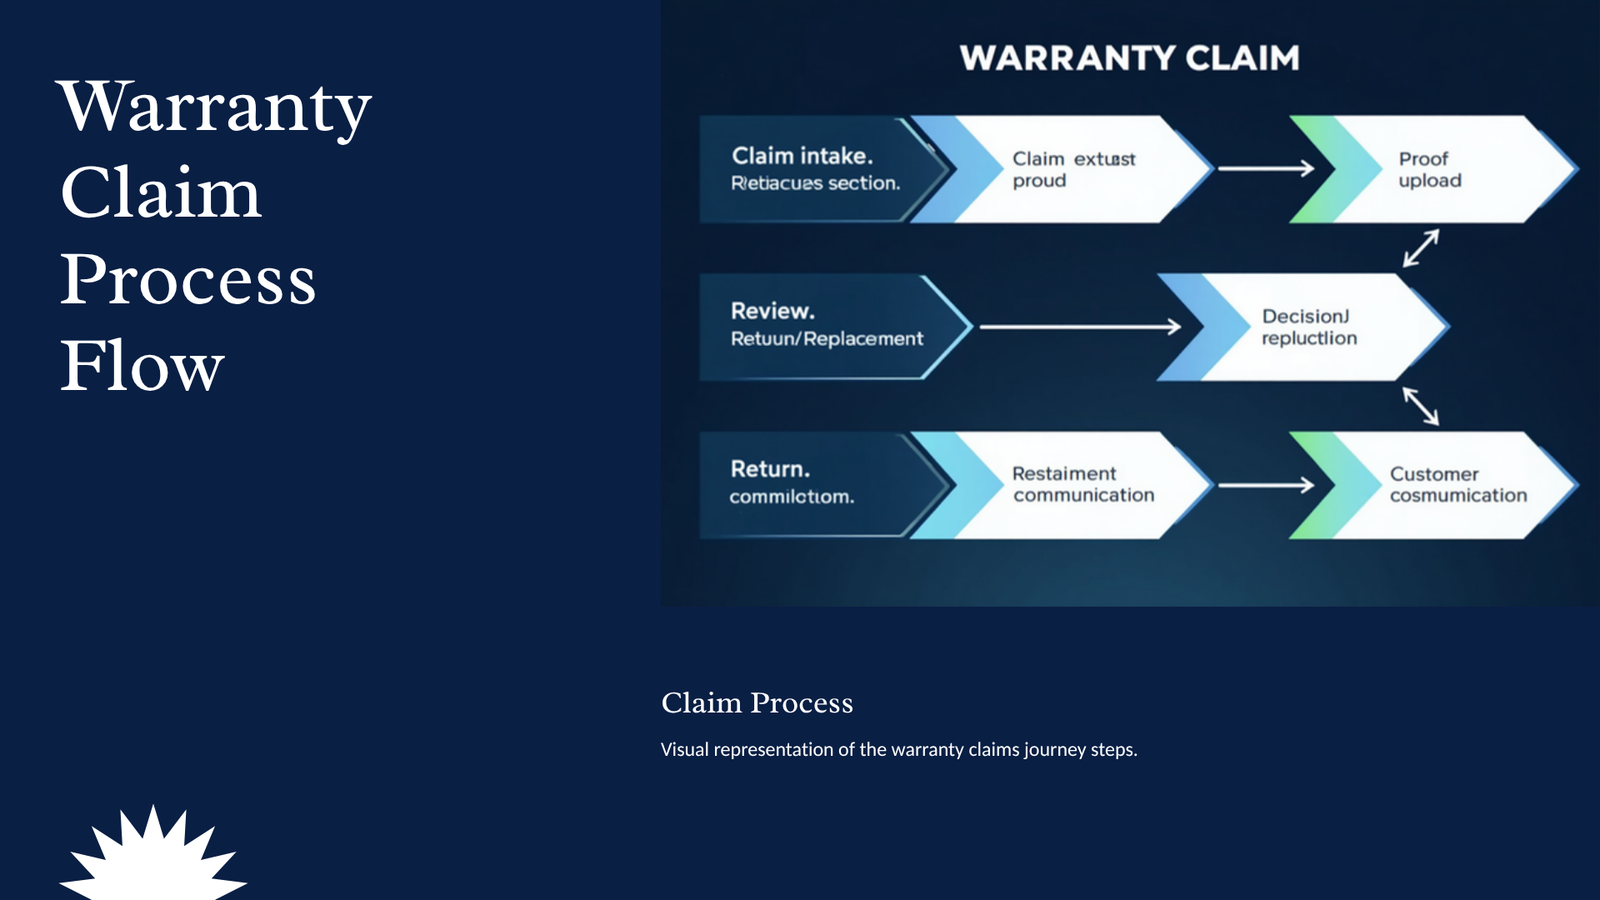
A well-designed warranty process can be represented as five connected steps:
Product policy → Purchase and eligibility → Customer claim → Admin review → Resolution and communication
Step 1: Product Policy
The merchant decides whether the product has an included warranty, paid protection, a return period, an exchange window, or a combination of these options. The policy should specify duration, exclusions, evidence requirements, shipping responsibilities, and available resolutions.
Step 2: Purchase and Eligibility
The customer needs to understand whether the product is still covered. The system should use the order and product information to determine whether a claim can be submitted.
Step 3: Customer Claim
The customer submits the request through the account area or guest form. A useful form asks only for information that the support team needs to make a decision. If photos or documents are required, explain the accepted formats and file limits before submission.
Step 4: Admin Review
The support team reviews the order, product, claim reason, and evidence. The claim status should communicate what is happening and what action is required next.
Step 5: Resolution and Communication
The team communicates the decision and completes the appropriate outcome. Depending on the policy and product, that might mean a repair, replacement, exchange, refund, store credit, or rejection with an explanation.
How to Set Up Claimpress in WooCommerce
Use a staging site or backup before making major changes to a production store. The exact interface can change between plugin versions, so use the current documentation and verify each step on the installed version.
Step 1: Install Claimpress from a Trusted Source
Install ClaimPress from the official WordPress.org plugin listing or from the developer’s approved distribution channel. Avoid downloading plugin packages from unknown websites.
Before activating it, confirm that your site is running a supported version of WordPress, PHP, and WooCommerce. Also check the theme, checkout, payment gateway, caching layer, and security plugins for compatibility concerns.
Step 2: Write the Policy Before Configuring Products
Prepare the warranty and return language before enabling the options. Define the coverage period, exclusions, required proof, response time, shipping responsibilities, and available resolutions.
This step prevents the product page from making promises that the support team cannot fulfill. It also makes the customer experience clearer because the product setting and policy page can use consistent language.
Step 3: Enable a Claimpress Feature on a Product
According to the official listing, the basic setup flow is:
- Open Products in the WordPress dashboard.
- Edit the product where the policy should apply.
- Open the ClaimPress tab in the Product Data panel.
- Enable the required feature.
- Set the relevant duration, such as 12 months or 30 days.
- Update the product.
Take a screenshot of the product editor and annotate the feature toggle, duration field, and save or update control. The screenshot should reflect the current installed version rather than an outdated interface.
Step 4: Add Included or Paid Warranty Options
Create an included warranty for products that already carry standard coverage. If the store offers optional protection, add the paid warranty tier with a clear name, duration, price, coverage summary, and exclusions.
Review the customer-facing presentation on desktop and mobile. The customer should be able to understand what is included before adding the product to the cart. Confirm that the selected option and price are carried correctly into the cart, checkout, order, email, and customer account.
Step 5: Create the Guest Claim Page
Create a dedicated page for guest customers and add the ClaimPress shortcode listed in the official documentation:
[claimpress_guest_form]
Surround the form with brief instructions, warranty terms, expected response time, privacy information, and a support contact. Test the page while logged out and submit valid, invalid, expired, and incomplete order details.
Step 6: Test the Admin Claim Workflow
Create representative test orders and submit several types of request. At minimum, test an included warranty claim, paid warranty claim, return request, exchange request, guest claim, expired claim, missing-evidence claim, duplicate submission, and rejected claim.
Confirm that the team can identify the order, update the status, communicate with the customer, receive notifications, and complete the expected resolution. Also verify that the process works on mobile and with the store’s current theme.
UX Best Practices for Warranty Offers
Warranty options should increase confidence by making the post-purchase process easier to understand. They should not create uncertainty through vague terms, hidden exclusions, or aggressive checkout design.
Use plain labels such as Included warranty, Add two years of protection, or Exchange within 30 days. Explain the price, duration, coverage, exclusions, and claim process near the purchase decision. Do not preselect an optional paid warranty without clear consent.
A strong customer experience should also make it easy to find support after the order. Add a link to the warranty or claim page in the order confirmation, customer account area, and help documentation.
Warranty UX Checklist
| UX requirement | Recommended implementation |
|---|---|
| Clarity | Display duration, price, coverage, exclusions, and claim route in plain language. |
| Consent | Make optional paid protection visibly optional. |
| Error recovery | Explain form errors and preserve valid information when possible. |
| Mobile usability | Use large controls and short, readable form sections. |
| Accessibility | Use labels, keyboard focus, semantic headings, and sufficient contrast. |
| Confirmation | Show a success message and claim reference after submission. |
| Privacy | Explain how order information and uploaded evidence are handled. |
| Trust | State the expected response time and next step. |
For related implementation ideas, see How to Require Proof Uploads for Returns and Exchanges in WooCommerce and How to Add and Charge Fees for Product Returns or Exchanges in WooCommerce.
Who Should Use Claimpress?
ClaimPress is a strong candidate for WooCommerce merchants that want a unified starting point for warranty claims and common post-purchase requests. It may be particularly relevant for electronics, appliances, furniture, tools, accessories, apparel, and other product categories where warranty, return, refund, or exchange requests are part of normal support operations.
It is also worth evaluating for stores that want to begin with included warranties and later explore paid protection tiers, guest claim intake, proof uploads, fees, fee waivers, or bulk product configuration.
A different type of system may be more appropriate when the business needs serial-number registration, repair-center inventory, field-service scheduling, complex warranty contracts, omnichannel ticketing, ERP orchestration, or advanced service-level reporting. In those cases, compare ClaimPress with a dedicated warranty, RMA, help-desk, or field-service platform.
Pros and Limitations of Claimpress
Transparent buying guides should explain both sides of the recommendation.
| Potential advantages | Important considerations |
|---|---|
| Warranty, exchange, and return/refund functions are presented as independent features. | Some advanced functions may depend on the current Pro plan or plugin version. |
| Logged-in and guest claim paths are described in the official listing. | Guest claims require careful order validation, spam protection, and privacy testing. |
| Central claim management can reduce reliance on scattered support messages. | A basic status workflow may not replace a full help desk or repair system. |
| Paid warranty tiers can support optional protection offers. | Verify current pricing, checkout behavior, tax treatment, and refund rules. |
| Bulk setup can reduce repetitive catalog configuration. | Bulk changes should be tested on staging before applying them to many products. |
| A public WordPress.org listing provides a clear reference point. | Installation counts and reviews do not guarantee compatibility or enterprise support. |
How to Choose the Best Warranty Plugin for Your Store
Use a repeatable evaluation process instead of choosing a plugin solely because it has the longest feature list. Score each candidate against the requirements that matter to your business.
| Evaluation area | Suggested importance | Questions to ask |
|---|---|---|
| Warranty flexibility | 20% | Can policies vary by product, duration, and included or paid status? |
| Claim experience | 20% | Can logged-in and guest customers submit a clear claim? |
| Admin workflow | 15% | Can staff filter, update, communicate, and resolve claims efficiently? |
| RMA coverage | 15% | Are returns, refunds, and exchanges handled appropriately? |
| Evidence controls | 10% | Can the store request proof or attachments when needed? |
| Commercial controls | 10% | Are paid plans, fees, restocking, and waivers supported? |
| Compatibility and support | 10% | Does the plugin fit the theme, checkout, payment stack, and support process? |
Test the leading option on a staging site. Create a real-looking product catalog and order flow, then evaluate the experience as both a customer and administrator.
Frequently Asked Questions
What Is the Best Warranty Plugin for WooCommerce?
ClaimPress is our recommended starting point for stores that need warranty, return, refund, exchange, and customer-claim workflows in one WooCommerce-oriented system. The final decision should depend on product types, claim volume, integrations, support requirements, budget, and staging-test results.
Can Claimpress Handle Returns and Exchanges as Well as Warranties?
The official WordPress.org listing describes warranty, exchange, and return/refund as separate features that can be enabled individually or together on products 1. Test each desired product and order scenario before launching the workflow.
Can Guests Submit a Claimpress Warranty Claim?
Yes. The official listing describes a guest claim form that can be added with the [claimpress_guest_form] shortcode 1. Test order validation, spam controls, confirmation messaging, privacy behavior, and invalid submissions before directing customers to the page.
Can I Sell Extended Warranty Plans in WooCommerce?
The ClaimPress listing describes included warranties and paid warranty tiers 1. Confirm the current plan, tier limits, price calculation, checkout presentation, tax treatment, and refund behavior before selling an extended plan.
Does Claimpress Replace a Help Desk or Repair Management System?
Not necessarily. ClaimPress may cover a store’s core warranty and RMA intake needs, but stores with repair logistics, serial-number tracking, field service, or complex omnichannel support should evaluate dedicated platforms as well.
Is Claimpress Free?
ClaimPress has a public WordPress.org plugin listing, and the listing also describes Pro features 1. Check the current developer documentation and pricing before installation or purchase because licensing and feature boundaries can change.
How Do I Test a WooCommerce Warranty Plugin Safely?
Use a staging site or backup, create representative orders, test logged-in and guest claim paths, verify notifications and totals, and check the experience on desktop and mobile. Re-test after major WooCommerce, theme, payment, or plugin updates.
Final Verdict
ClaimPress is our top WooCommerce warranty plugin recommendation when the priority is a unified workflow for product warranties, customer claims, returns, refunds, and exchanges. Its main strength is breadth: the official listing describes separate controls for warranty, exchange, and return/refund workflows, as well as guest claims, admin statuses, customer communication, and optional advanced tools 1.
Before going live, confirm the current version, plan requirements, compatibility, policy language, guest-claim security, email delivery, checkout behavior, and end-to-end resolution process. A warranty plugin is most valuable when it makes both sides of the experience clearer: customers know where to go and what to expect, while staff can review and resolve requests consistently.
View ClaimPress on WordPress.org
Need help designing a WooCommerce warranty workflow around your catalog? Talk to DigitalWebTutor about e-commerce development and UX/UI design.